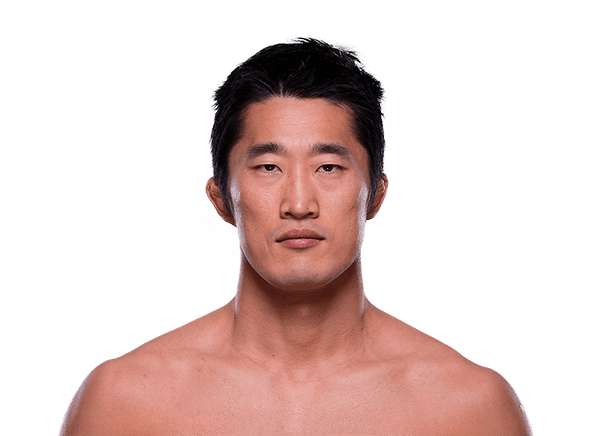


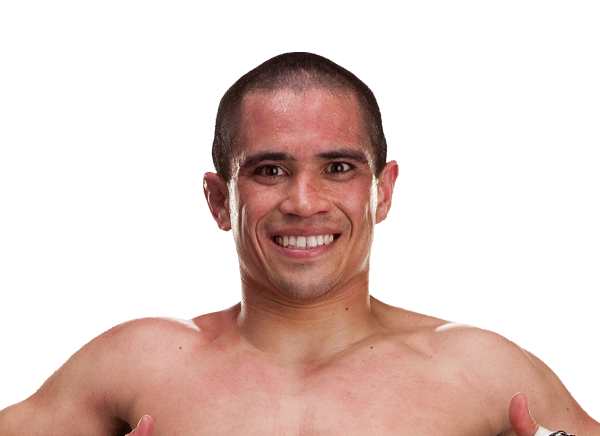
Takeya Mizugaki
def. Jeff Hougland
Who owned each round
↳Bottom lineOn the numbers: Mizugaki 3 rounds, Hougland 0. This is a stats score, not the judges' cards.
?How to read this chart
- One bar = one round
- scored from the official numbers: significant strikes (the strikes that count), knockdowns (worth six strikes), takedowns (worth two), submission attempts and control time.
- Up or down
- a bar above the line is a round Mizugaki (red) won on the numbers, below the line a round for Hougland (blue). Taller = more one-sided. The pair of numbers is significant strikes landed, red–blue; ✕ KD marks a knockdown.
- The gold line
- is the running total: where it ends, above or below the middle, shows who was ahead on the numbers overall.
Round 1 swung it. Mizugaki landed 27 significant strikes to Hougland's 9, 1 takedown and 3:35 of control in that round.
↳Bottom lineTakeya Mizugaki out-landed Jeff Hougland 63 to 14 on significant strikes and Mizugaki had more control time (11:05).
?How to read this chart
- Each line
- is one stat for the whole fight: the red corner's number on the left, the blue corner's on the right, and the bar split by their share of the two.
- Small print
- under strikes and takedowns is landed of attempted. Significant strikes are the power shots and anything thrown at distance, not light taps; control time is how long one fighter held the other down or against the fence.
Fight totals
Where the strikes landed
Where the strikes landed
↳Bottom lineMizugaki aimed 84% of landed strikes at the head, Hougland 36%.
?How to read this chart
- One figure per fighter
- showing every significant strike they landed (power shots and anything thrown at distance, not light taps). The brighter a zone, the bigger its share of the total.
- The labels
- give the share and landed/thrown for head, body and legs: 12/30 means 12 landed out of 30 thrown.
- The three bars
- split the same strikes by position: at distance, in the clinch (tied up standing) or on the ground.
Every roundRound stats
| Round | Fighter | Sig. str. | Total | KD | TD | Sub att. | Control | Head | Body | Legs |
|---|---|---|---|---|---|---|---|---|---|---|
| R1 | Takeya Mizugaki | 27/46 | 42/66 | 0 | 1/1 | 0 | 3:35 | 24 | 2 | 1 |
| Jeff Hougland | 9/11 | 23/25 | 0 | 0/2 | 0 | 0:14 | 3 | 5 | 1 | |
| R2 | Takeya Mizugaki | 22/37 | 32/49 | 0 | 1/1 | 0 | 3:37 | 17 | 5 | 0 |
| Jeff Hougland | 5/8 | 24/29 | 0 | 0/3 | 0 | 0:19 | 2 | 3 | 0 | |
| R3 | Takeya Mizugaki | 14/29 | 29/49 | 0 | 2/2 | 0 | 3:53 | 12 | 0 | 2 |
| Jeff Hougland | 0/6 | 26/35 | 0 | 1/2 | 0 | 0:03 | 0 | 0 | 0 |
Official scorecardsThe judges
How they arrivedThe last five, and who they beat
 Chris CariasoUFC 144 · Feb 2012DEC1472W
 Cole EscovedoUFC 135 · Sep 2011KO/TKOR21426L
 Brian BowlesUFC 132 · Jul 2011DEC1486WRDReuben DuranUFC Live · Mar 2011SPLIT1450
 Yves JabouinUFC on FUEL TV · May 2012DEC1463WDWDonny WalkerUFC 132 · Jul 2011DEC1450
↳Bottom lineMizugaki has faced the tougher opposition lately: average opponent 1458 against 1456.
?How to read this chart
- Each row
- is one recent UFC fight, newest first: W win, L loss, D draw, NC no contest; then the opponent, how it ended (KO/TKO, SUB = submission, DEC = decision) and the round.
- The number on the right
- is the opponent's Cage Nightly rating going into that fight. 1500 is an average UFC fighter, 1560+ is near the top: the higher it is, the harder the win.
- The bottom line
- sums it up: average opponent rating, wins over 1560+ opponents, and how many wins came by finish.
Who they were coming inMizugaki vs. Hougland
Career rates use UFC fights only, including this one. Data: UFC Stats.
Referee: Steve Perceval
After this fightWhat came next
 Jeff Hougland
No fight booked yet.
Ready-made cards, built from our numbers
A story for Instagram and TikTok, a square for X, Threads and WhatsApp. They update with the result.